How I Used Xcode Cloud to Build My Quasar Framework App for iOS
Learn how I used Xcode Cloud to build and deploy my Quasar Framework iOS app remotely. Avoid SDK version errors, automate your builds, and ship to App Store Connect — all without upgrading your Mac.
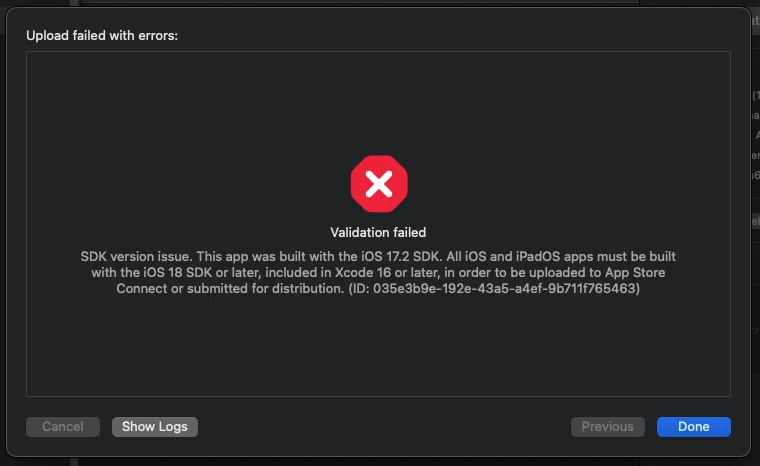
Technology moves faster than any of us can keep up with. One morning, I found myself trying to compile my iOS app built with Quasar Framework in Xcode, and suddenly this lovely message appeared on my screen:
SDK version issue
This app was built with the iOS 17.2 SDK. All iOS and iPadOS apps must be built with the iOS 18 SDK or later, included in Xcode 16 or later, in order to be uploaded to App Store Connect or submitted for distribution.
At this point, you might think: “Great, now I need a new MacBook Pro.”
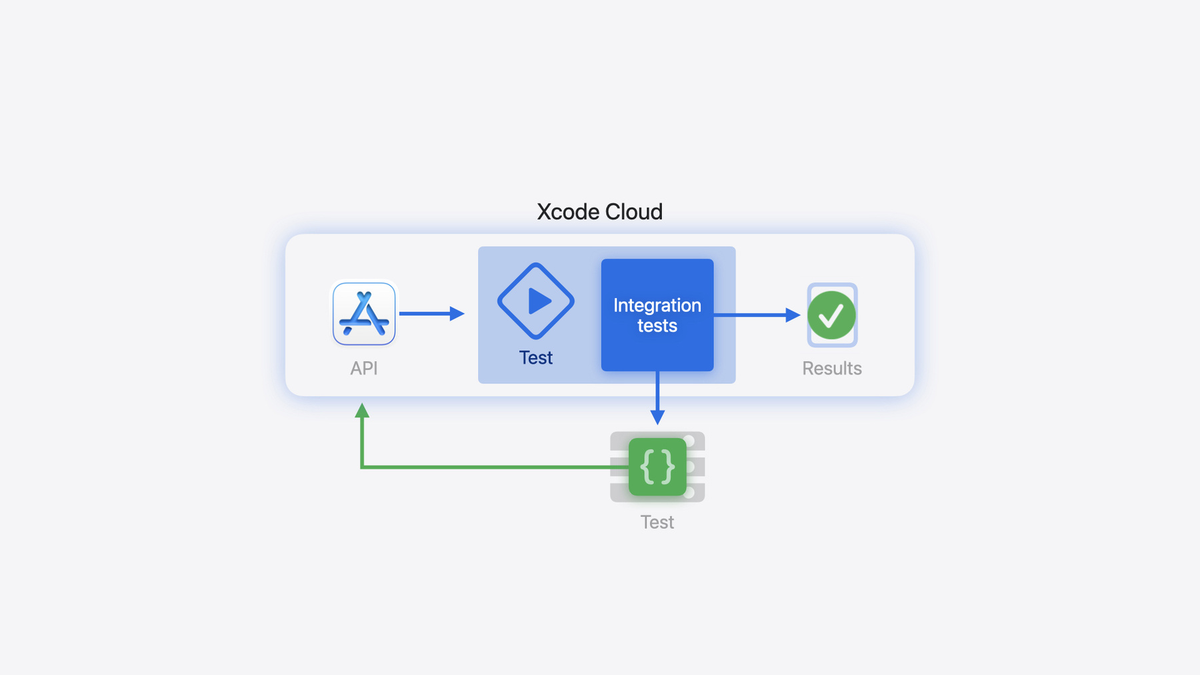
But no, let me tell you, you can actually compile your Quasar Framework project in the cloud using Xcode Cloud (which is already included in your Apple Developer membership) while continuing to develop locally.
After spending some time researching and testing, I finally found a simple way to make it work.
You just need to add a single script and enable your workflow in Xcode Cloud.
Step 1: Add the Post-Clone Script
Create this file in your project at:
/src-capacitor/ios/App/ci_scripts/ci_post_clone.sh
Then paste the following script inside:
#!/bin/bash

echo "⬇️ Installing NVM and Node 22..."
export NVM_DIR="$HOME/.nvm"

curl -o- https://raw.githubusercontent.com/nvm-sh/nvm/v0.39.7/install.sh | bash

source "$NVM_DIR/nvm.sh"

nvm install 22.20.0
nvm use 22.20.0
nvm alias default 22.20.0


brew install cocoapods
brew install yarn
# Go to the root of the project
cd "$(dirname "$0")/../../../"
pwd
echo "📦 Installing dependencies in src-capacitor..."
yarn install

cd ../
pwd
echo "📦 Installing dependencies in root dir..."
yarn install

cd "$(dirname "$0")/../../../"
echo "📁 Installing CocoaPods dependencies..."
cd ios/App
pod install

cd "$(dirname "$0")/../../../"
cd ../
echo "🏗 Building Quasar app for iOS (Capacitor)..."
yarn quasar build -m capacitor -T ios

cd "$(dirname "$0")/../../../"
pwd
echo "🔄 Syncing with Capacitor iOS project..."
npx cap sync ios


echo "✅ Post-clone script completed successfully!"
I created this script after a lot of trial and error, but it works perfectly.
Step 2: Enable Xcode Cloud Workflow
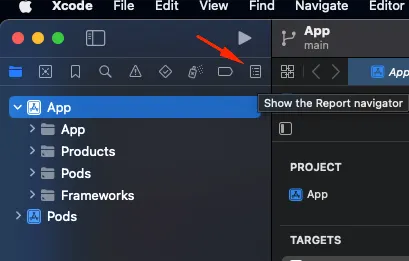
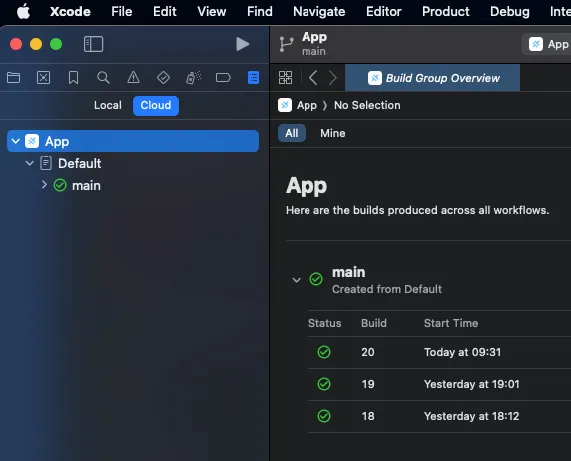
Inside Xcode, click on the Report Navigator icon from the left sidebar.
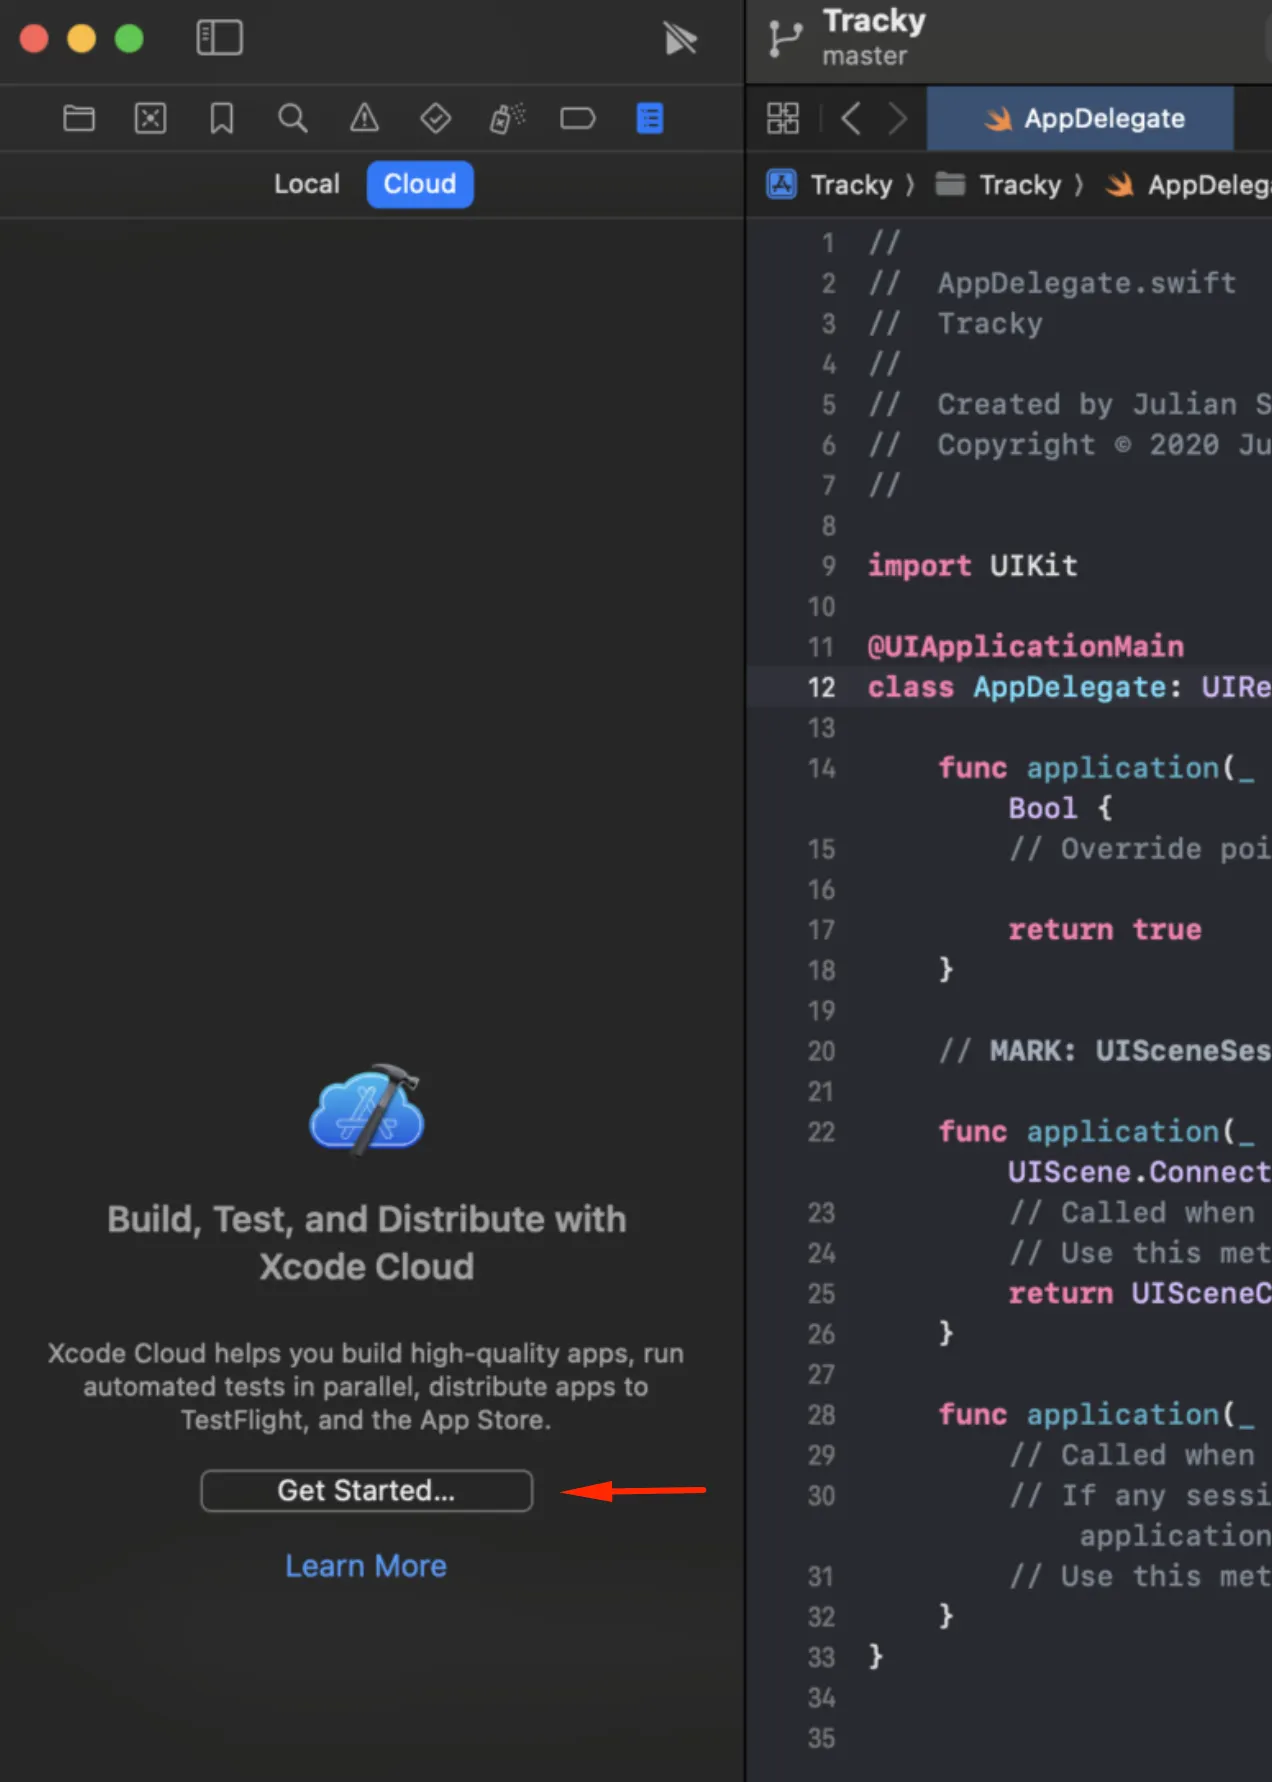
Now you’ll see a button that says “Get Started”, click it and follow the wizard.
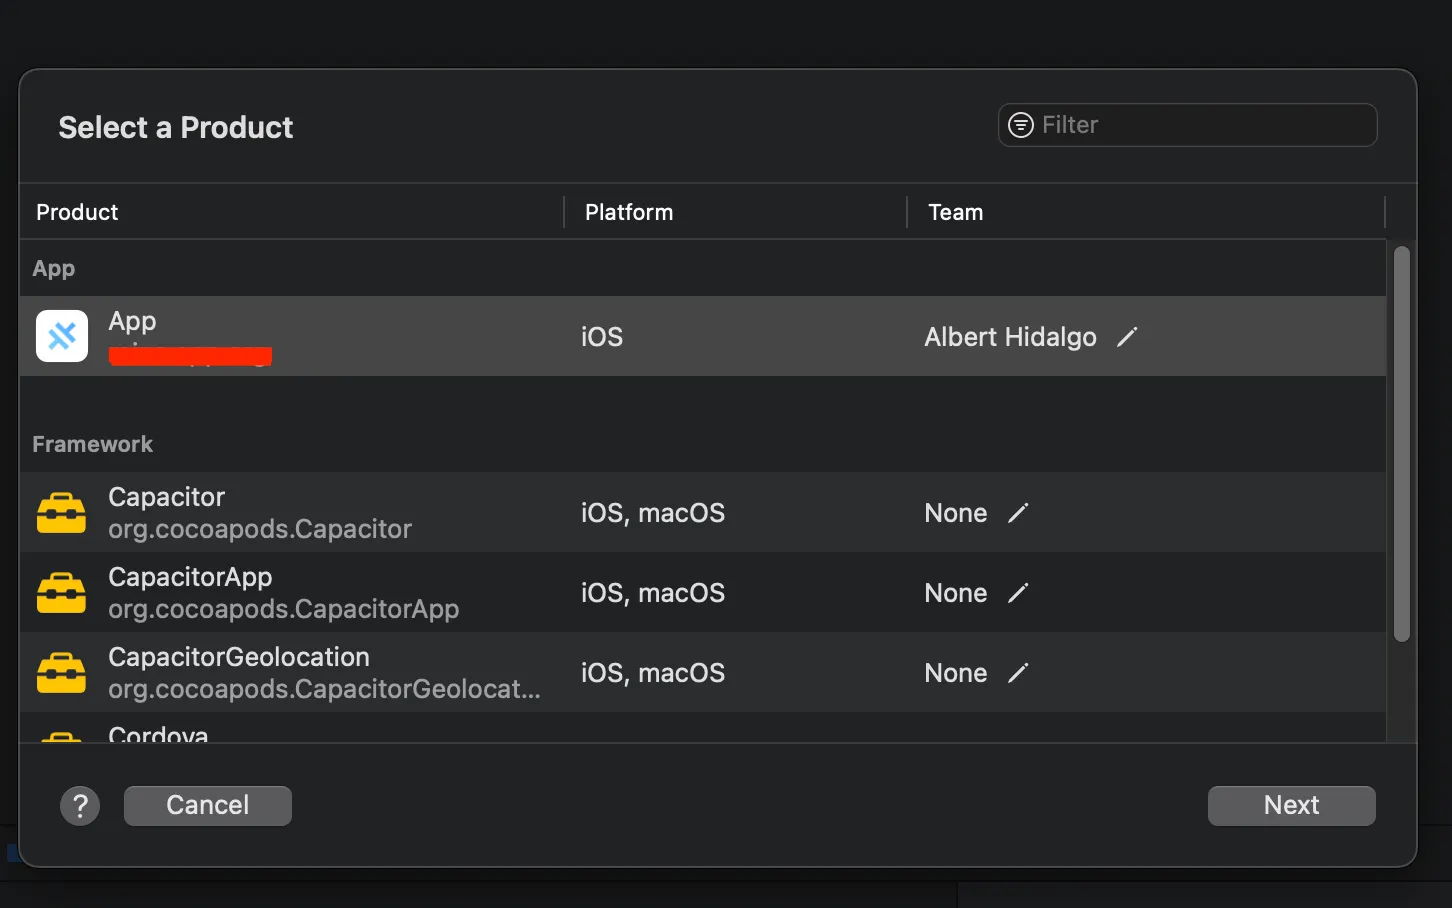
Choose your App from the product list and click Next.
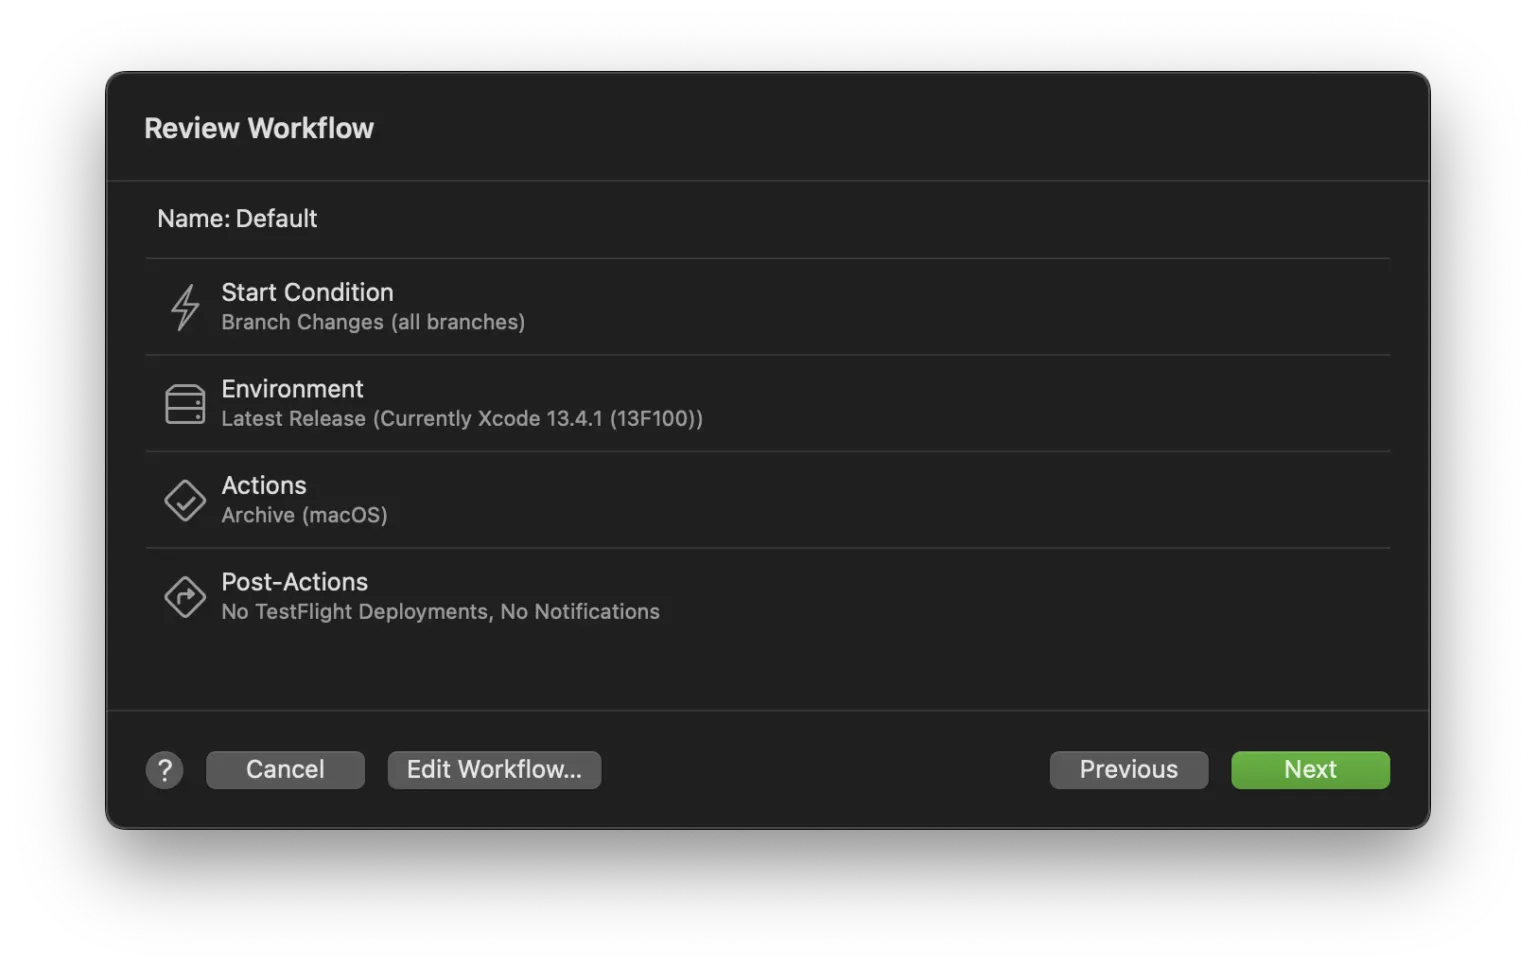
You don’t need to change anything in this step, just click Next again.
Then, grant access to your repository so Xcode Cloud can automatically build your project each time you push changes to the selected branch.
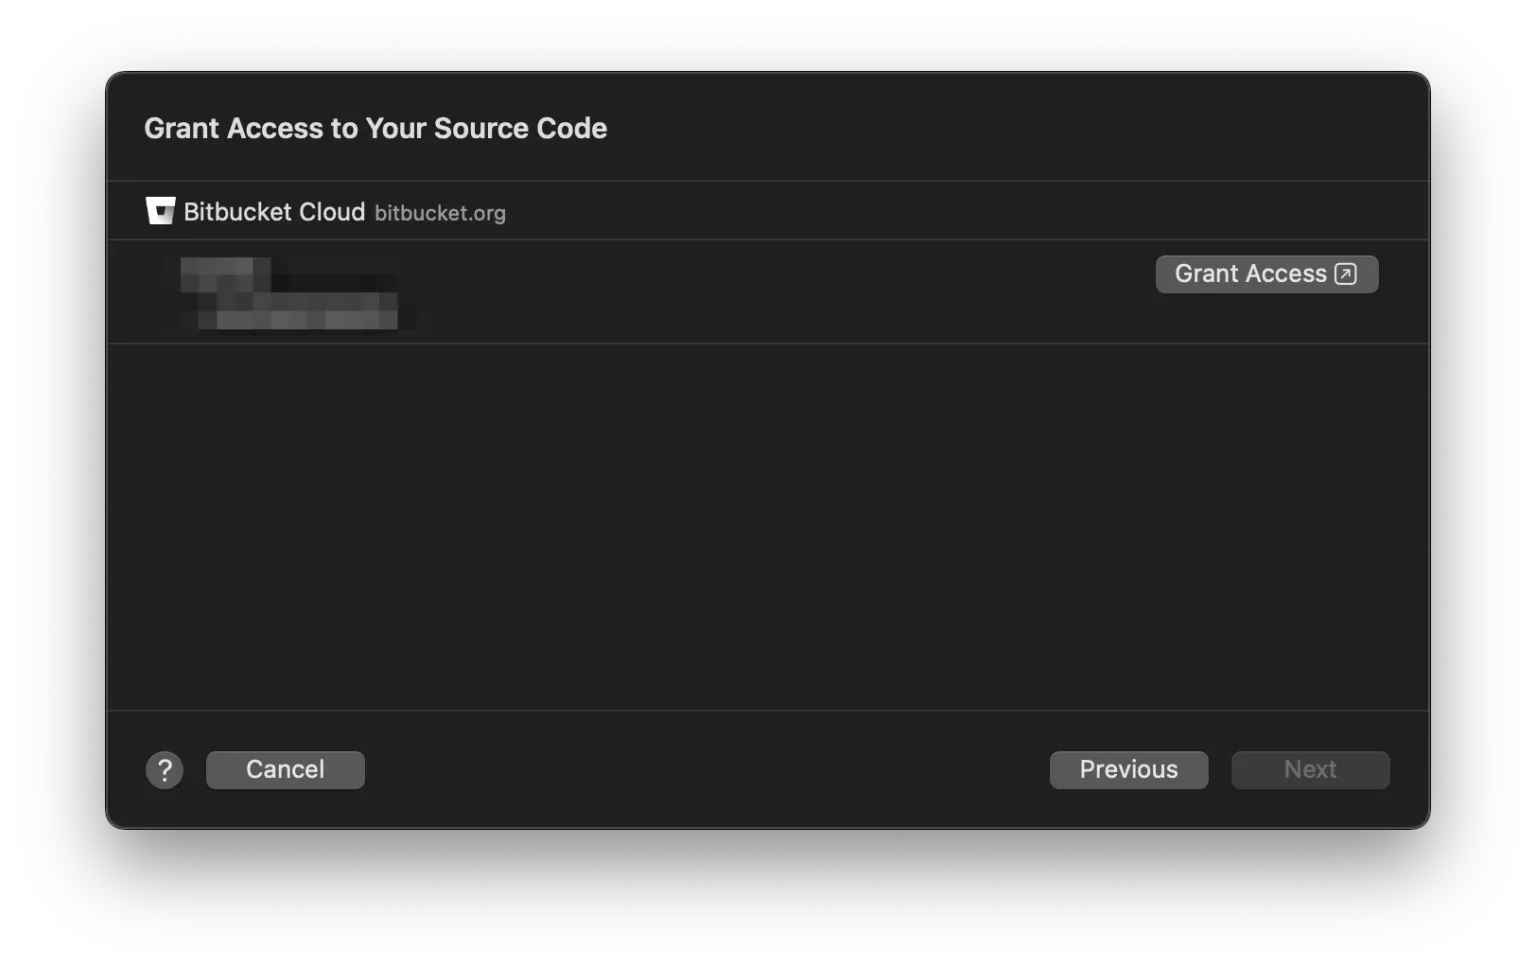
And that’s it!
Your workflow is now connected to Xcode Cloud and synced with your repository.
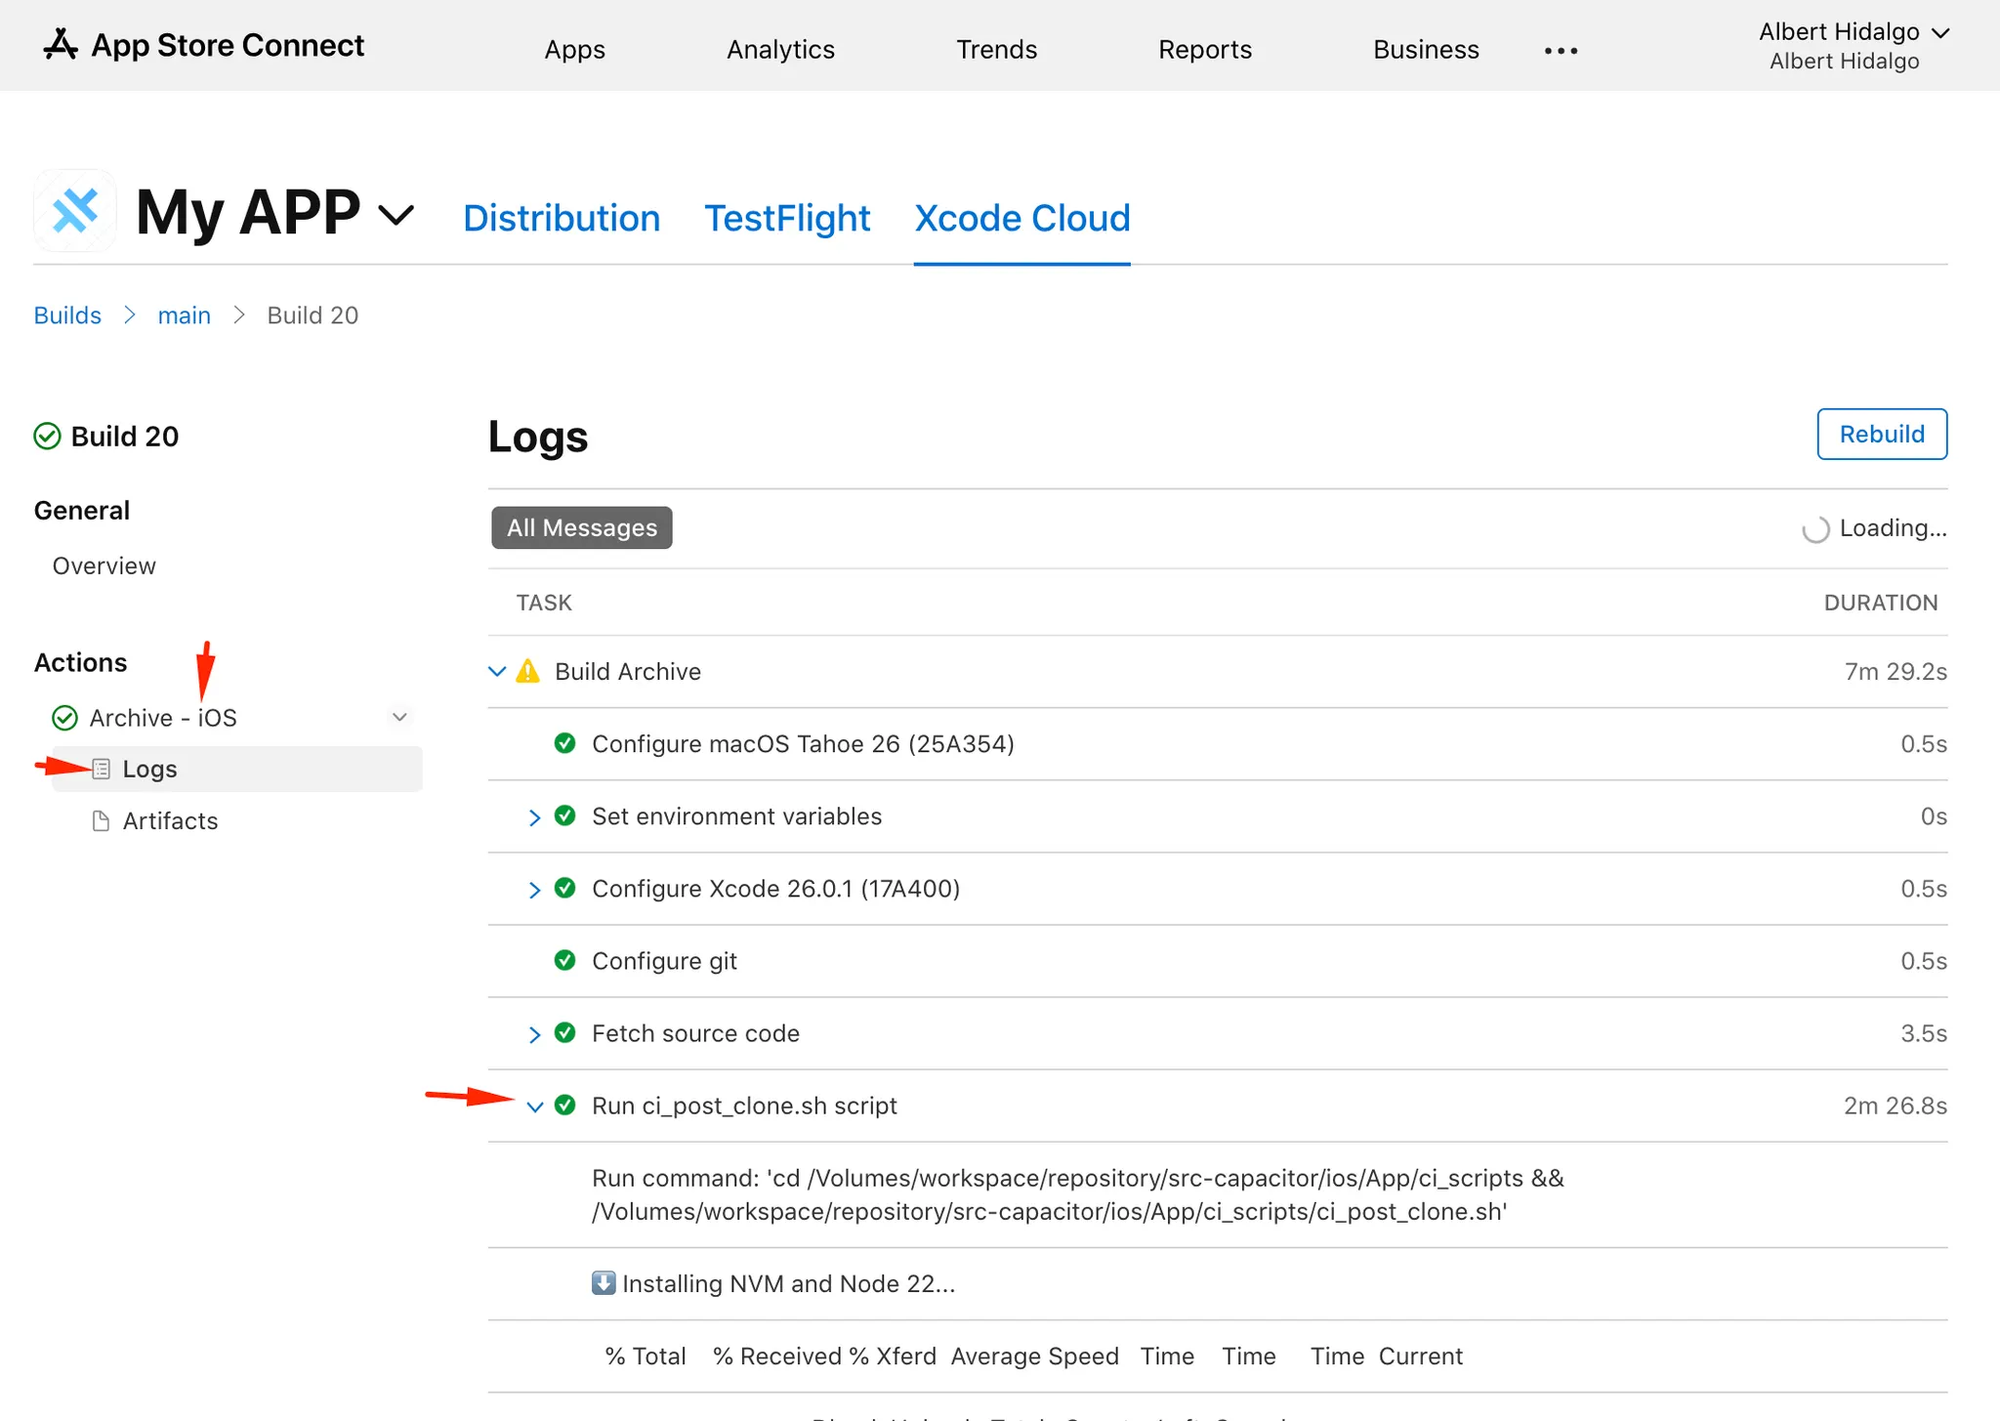
From App Store Connect, you’ll be able to view more details about your workflow and configurations.
Final Note
If you open one of your build details, you might see a red “Build Failed” message like this:
But if you scroll down, you’ll notice something interesting:
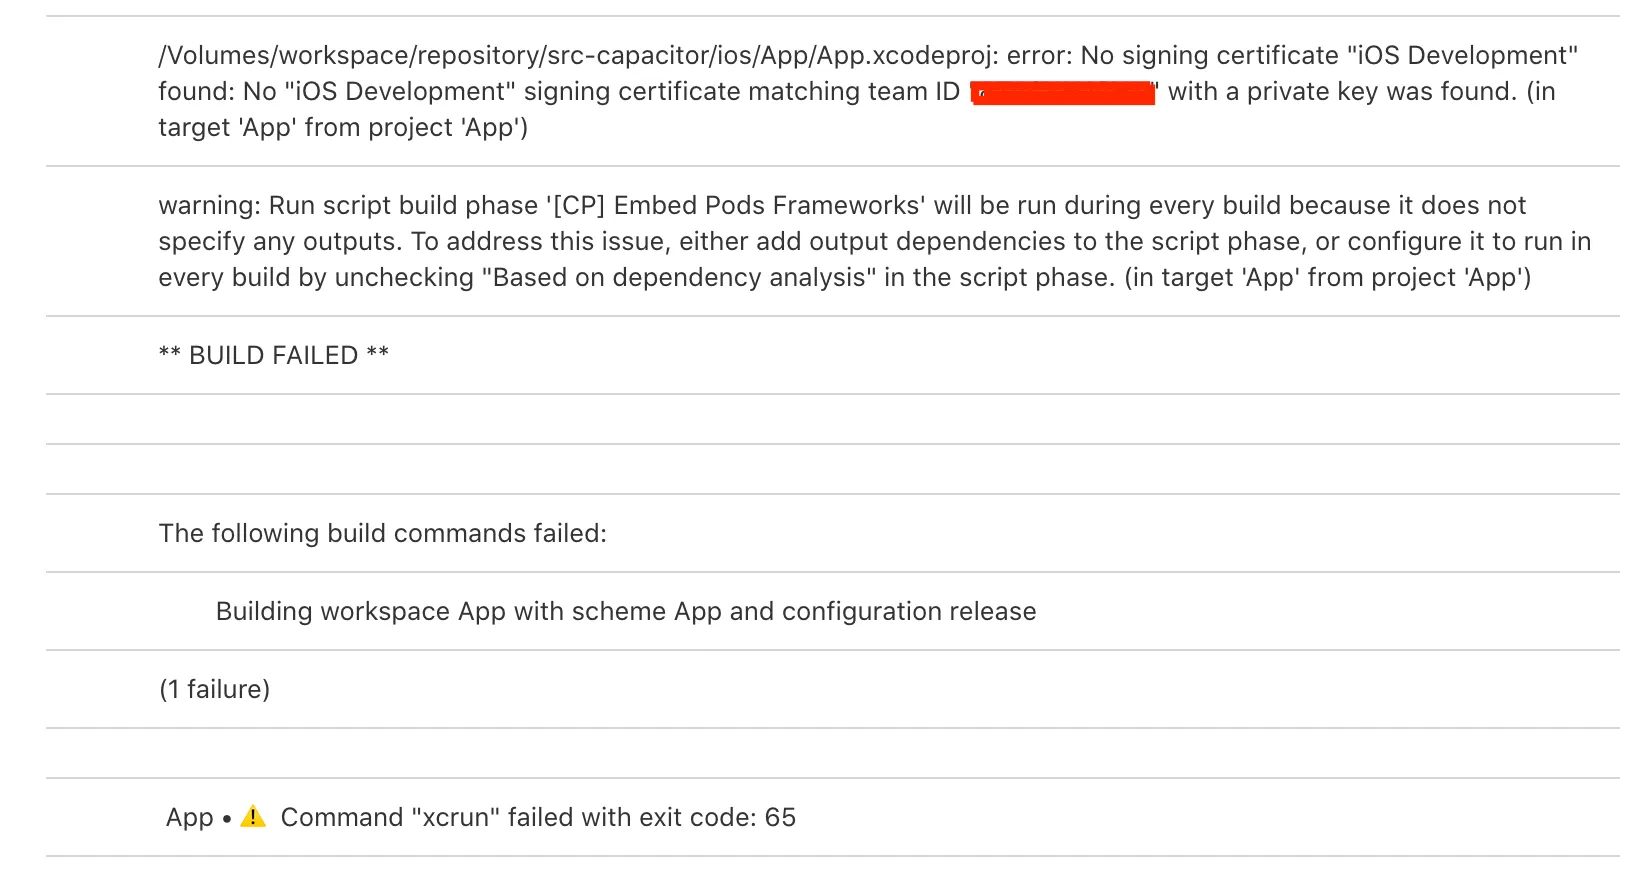
Even though it shows as failed, everything actually works fine.
I have no idea why, but it just does 🤷♂️
I hope this helps you get your Quasar app running in Xcode Cloud without having to buy a new Mac.
If this worked for you, please let me know, I’d love to hear your experience!